Some of the most frequently-asked questions I get on this blog are about designing and building custom touring bikes, whether DIY or built to order by a professional bike builder.
Especially now the world has opened up to bicycle travel again, these questions often come from people planning cycle tours or bikepacking trips of ambitious scale – across multiple continents, or even around the world.
But why would you want to custom-build a touring bike in the first place, rather than buy a commercially-manufactured one?
I’ve come across a few common reasons:
- You are concerned that an off-the-peg touring bike just won’t be good enough for a bike trip that – especially at the planning stage – feels extraordinarily demanding,
- You believe that custom-building a touring bike is the only way to be sure that every last detail has been carefully considered,
- You have found that for physiological reasons you’re unable to get an acceptable fit on a commercially produced touring bike,
- You have highly specific personal preferences for the way your bike is set up, and you think it’ll be easier to start from scratch than to disassemble and rebuild an existing bike,
- You have a very special project in mind for your tour that requires a specially modified bike (I’ve seen surfboard carriers, on-board juicers, cargo racks for a full set of SCUBA diving gear…),
- You want to save money by building your own expedition-grade touring bike that would normally cost a small fortune to buy – even though, as I’ll discuss later, the assumption that it’ll save you money is only true under very specific circumstances.
And of course, there are always folk who just want to get their hands dirty! (See grease monkey. This is a category I fall into.)

I totally understand these reasons for looking seriously at custom-building a touring bike. I’ve felt all of these motivations myself at various points during my cycle touring “career”.
I also believe that the “round-the-world epic” bike trip is a uniquely valuable and life-changing type of cycle tour; one I encourage everyone to try at least once. This belief is the foundation of this blog. Doing it myself is what inspired me to write on the topic, and helping others is what has motivated me to keep this blog growing since 2006! Hence, this and hundreds of other human-written, 100% AI-free articles on the subject.
Anyway. I soon figured that the best way to answer these questions was to actually design and build the ultimate custom-built expedition touring bike and document the process in full.
Now, when anyone asks me how to custom-build a touring bike for a multi-year cycling journey, I simply point them to this blog post and say: “Here’s one I made earlier!”.


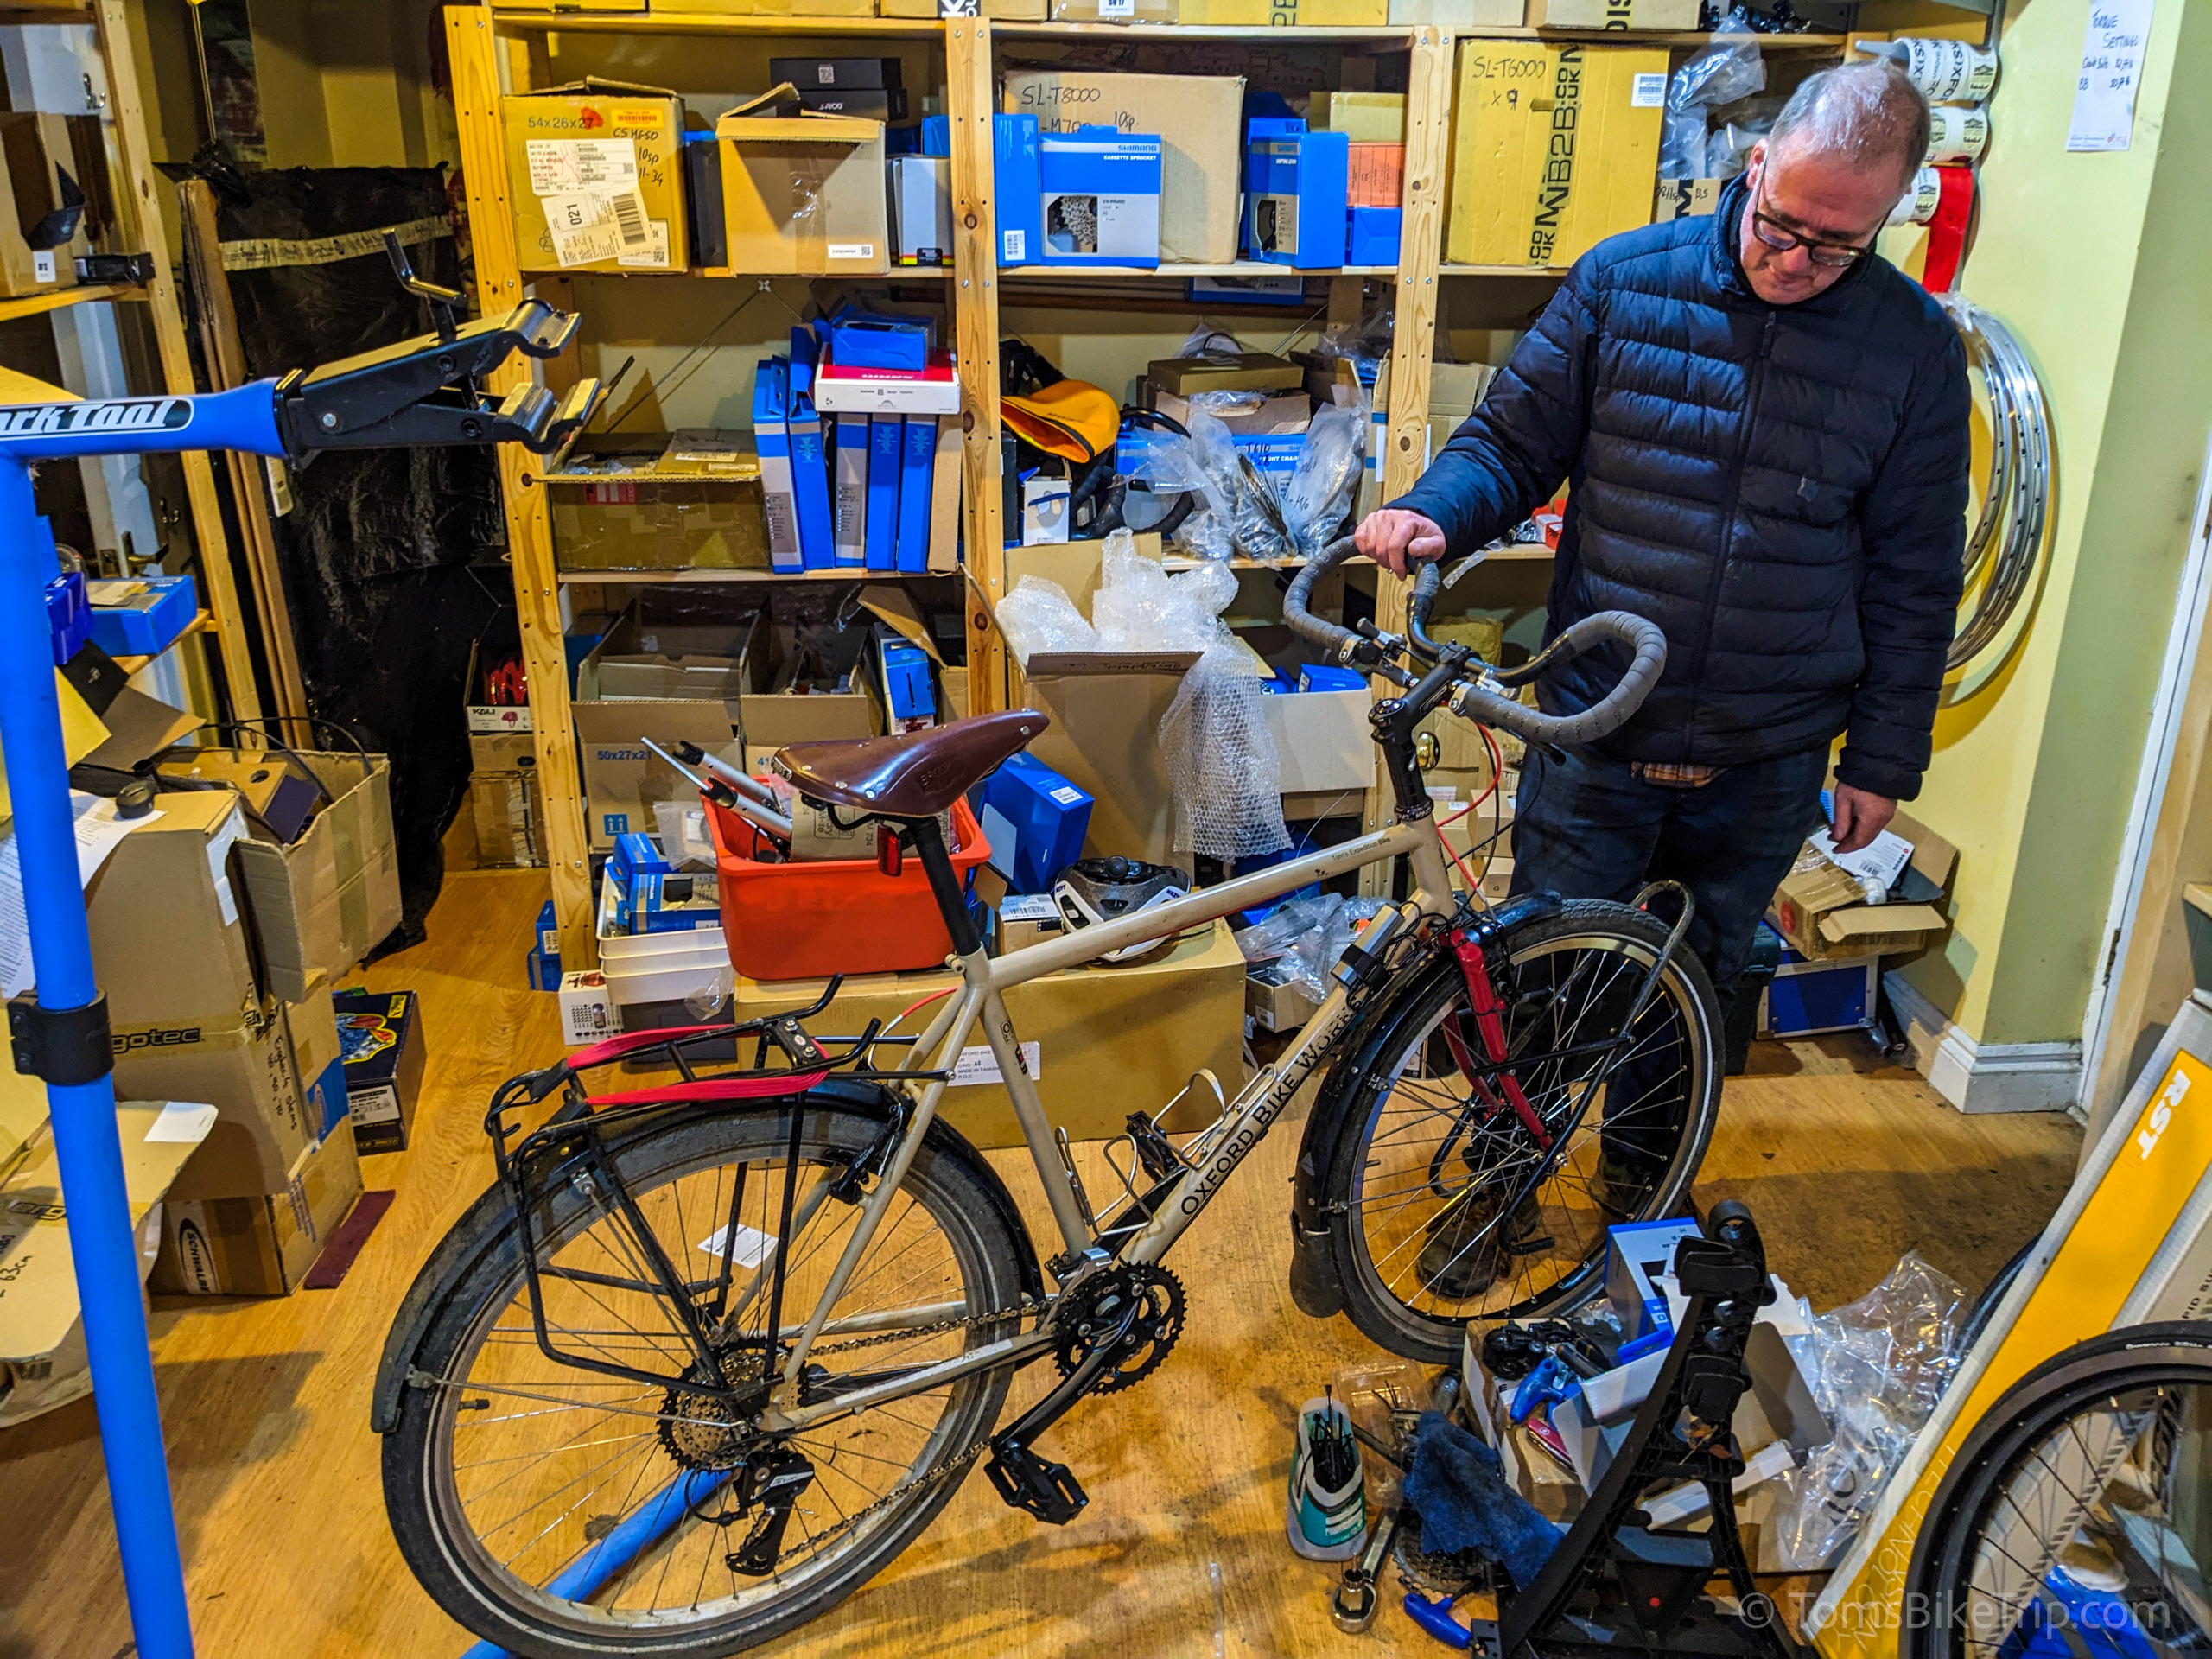
The bike pictured above is the result of that process. I spent about about a year conceptualising it in my head in 2013–2014, then a further year between 2014–2015 developing the first prototype in partnership with Richard Delacour of Oxford Bike Works.
I’ve been riding it ever since, and recently overhauled it for my 2023 ride up the east Australian coast. Here’s how it looks today:

In this 14,000-word mega-post, I’ll describe the process of designing, building, maintaining and updating this bike in an insane level of detail.
Beyond this particular bike, the Oxford Bike Works Expedition – the company’s flagship custom-built expedition touring bike – is based on the prototype.
In fact, Richard has sent hundreds of intrepid riders off from his Oxfordshire workshop, each on a unique version of this heavy-duty expedition touring bike. Between them they’ve circled the planet several times over.
This has been nice to see, because nothing proves a design concept better than real-world use.
If, having read this far, what you’re really looking for is a list of commercially-available expedition touring bikes available to order around the world, or checking out what mainstream off-the-peg touring bikes are on sale globally these days, you may wish to click away right about… now.
Otherwise, grab yourself a pot of tea and prepare for possibly the most in-depth look at building an expedition touring bike you’ll ever read.
Something to add?