Cockpit Components For Touring Bikes

So-called “cockpit” components are the parts of the bicycle that interface with your body: the saddle, the handlebars, the grips, and the pedals. Sometimes they’re referred to as “contact” components.
Needless to say, you’re going to get to know these parts rather intimately over the course of your journey, so you want to get them right before you hit the road.
Saddles For Touring Bikes
There are some saddles you simply tolerate. With others – just as with your favourite pair of shoes – you enter into a kind of symbiotic relationship. The Brooks B17 is one such saddle, has been a touring favourite for many decades, and has been Brooks’ best-selling product for more than a century.
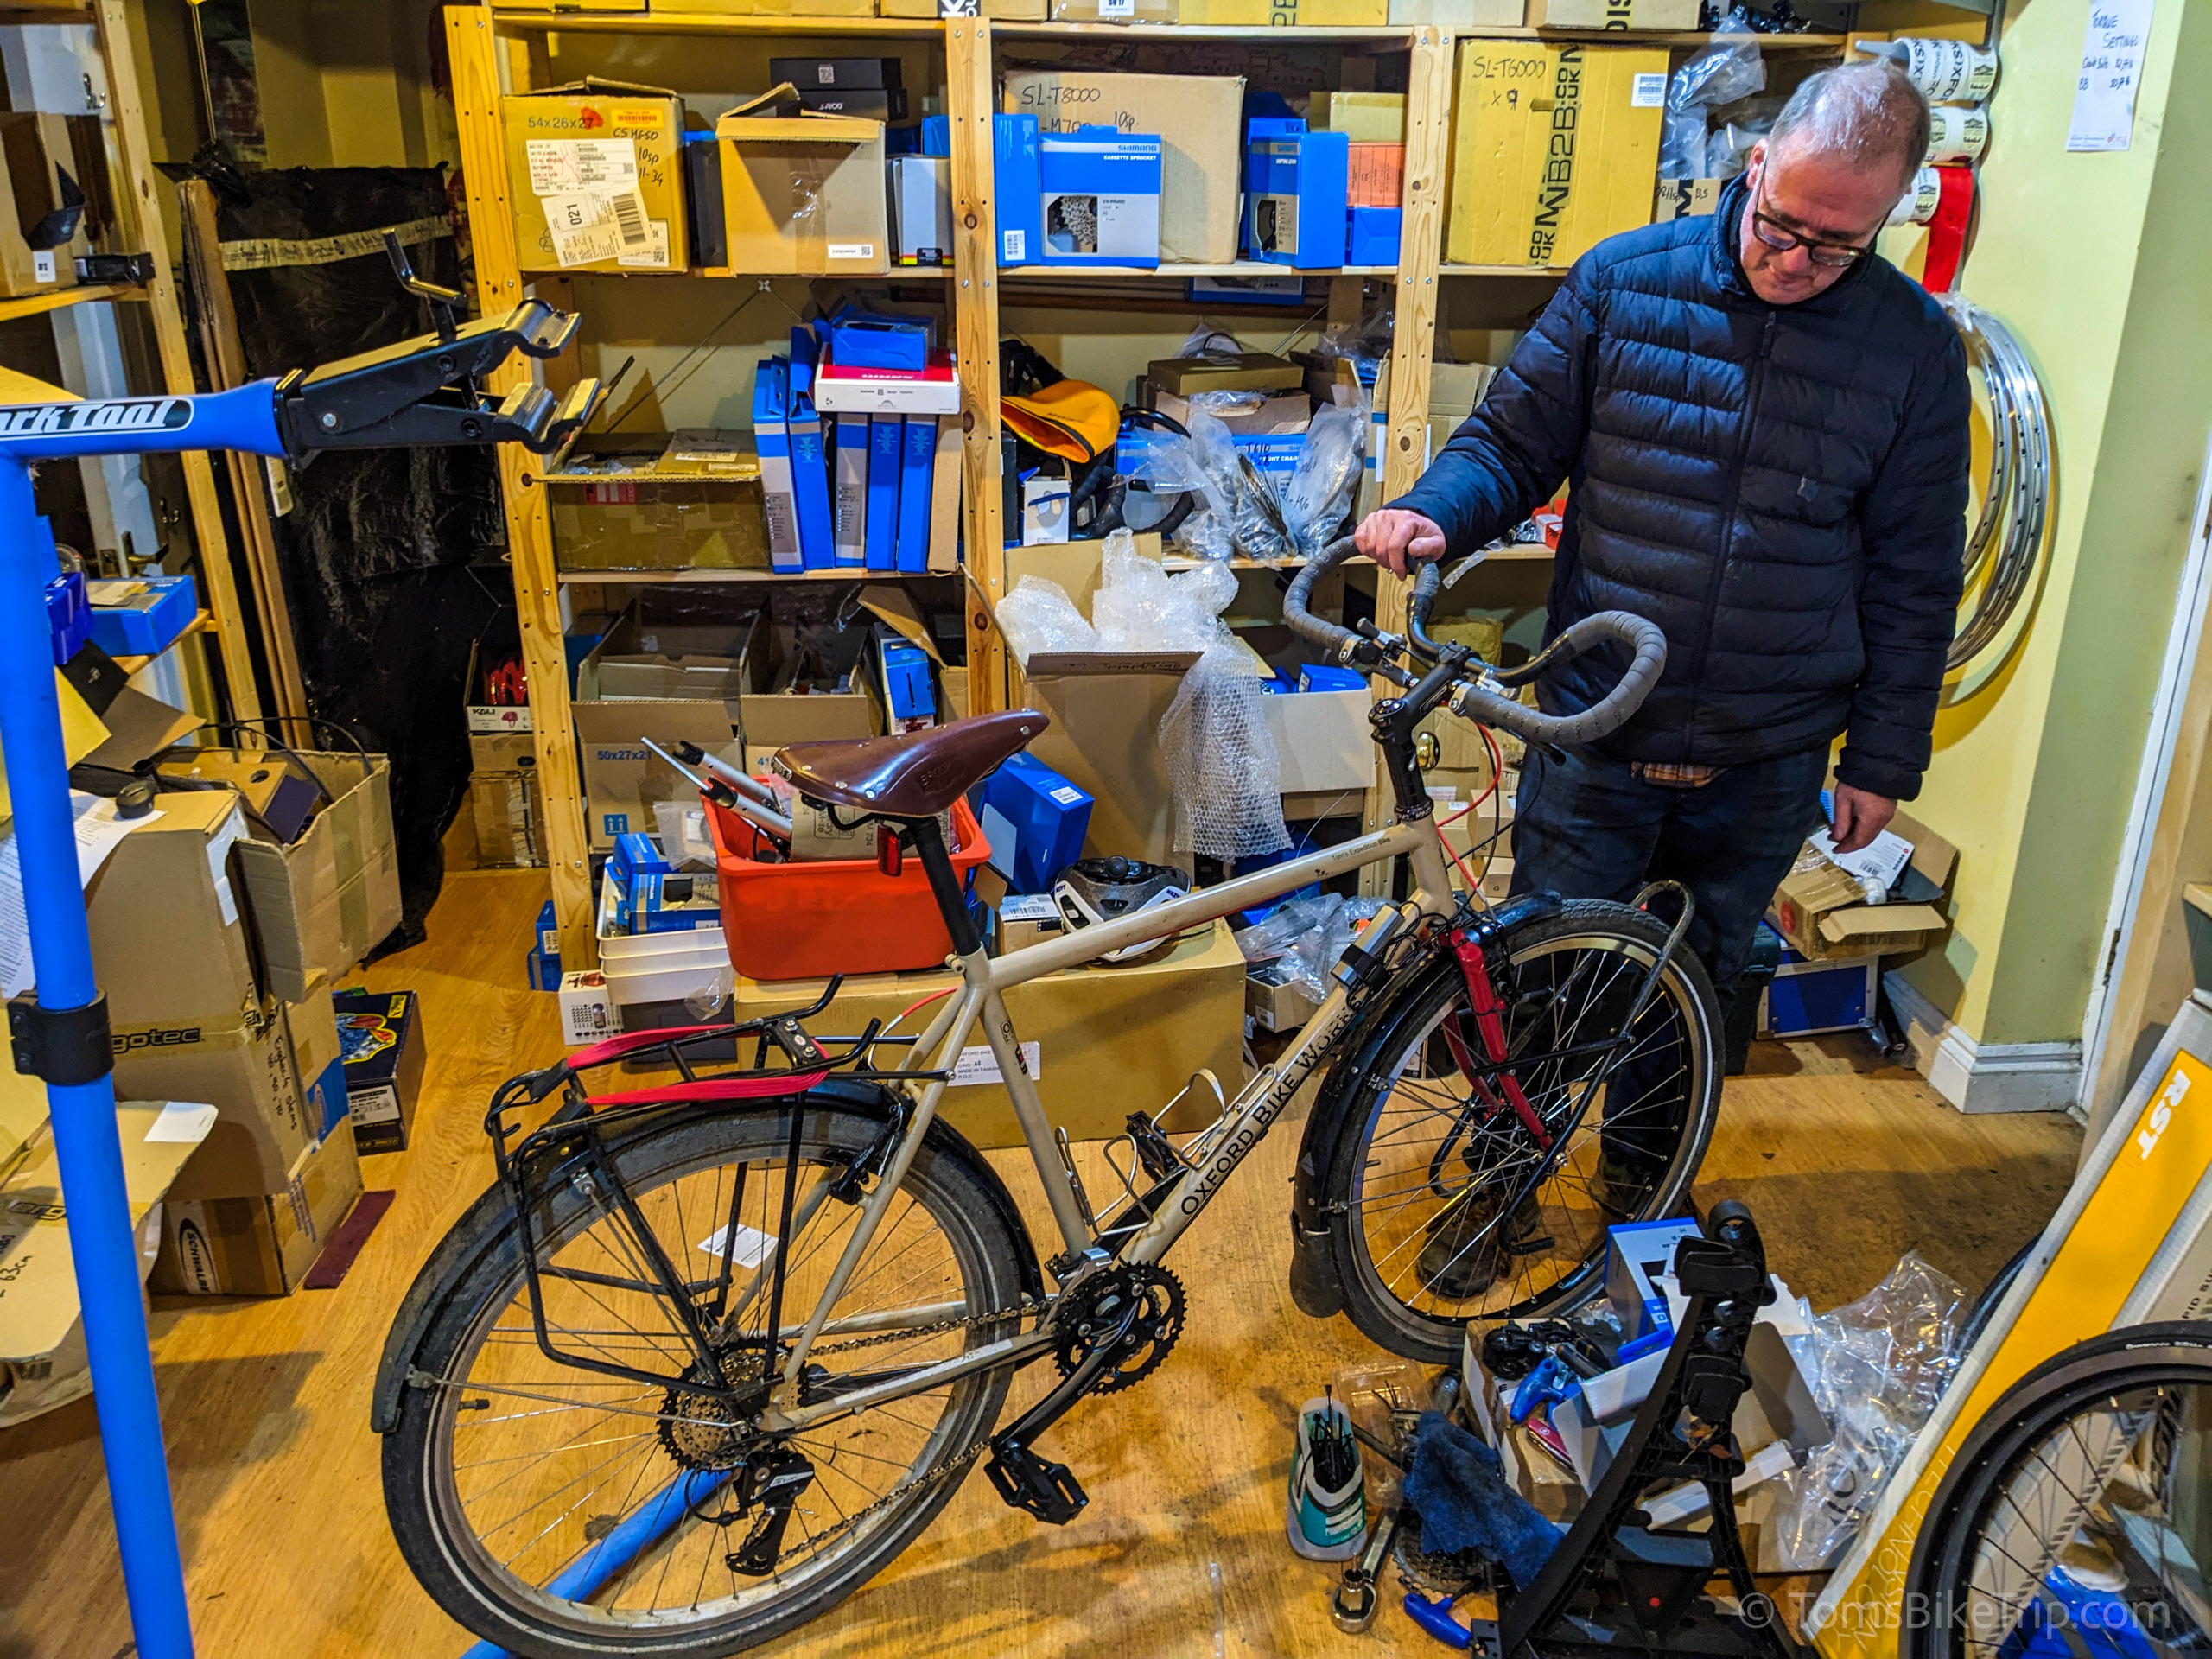
For about 80% of riders, according to Richard at Oxford Bike Works who has now built more than 100 bespoke expedition bikes, the saddle question ends with a Brooks – either the classic B17 or one of the various derivatives for diverse body shapes.
A minority of people, however, discover they do not get on with the leather Brooks, whether for physical or ideological reasons. If that’s you, there’s no remedy other than to try as many alternatives as you can until you find one that feels right. Padded shorts may help, as may gel saddles or covers, but there are no shortcuts around trial and error. Alternative saddles often suggested include the Brooks C17 Cambium (a vegan version of the B17 series), Specialized’s Body Geometry gel-impregnated range, and those from Terry Saddles, both of which include women’s specific models. Unfortunately, none yet have quite the hundred-year reputation of the Brooks.
When fitting a saddle, consider a micro-adjustable seatpost to allow fine-tuning of the saddle tilt angle and fore-aft position. This is an often overlooked factor in saddle comfort, but is as important as seat height in determining the correct overall fit of a bike.
Finally, if you do go for a leather saddle, make sure you regularly treat it with Proofide (for Brooks saddles) to prolong its life and prevent cracking. (Pro tip: apply it to the underside to keep your shorts clean!)

The prototype ultimate expedition touring bike was fitted with the Brooks B17 Special I’d been transplanting from bike to bike long before hipsters started putting them on fixies.
I was just one of countless riders who’d come out of the Brooks Breaking-In Period™ with a saddle that fitted my anatomy more perfectly than any other saddle on Earth – because my anatomy created it in the first place.
Unfortunately, some fucker stole it. So I’m currently breaking in another Brooks B17, and planning to transplant an old Flyer from my Kona Sutra to the expedition bike next time both bikes are in the same country!
Retailer Links
- Buy the Brooks range of saddles online in the UK from
Chain Reaction Cycles,Wiggleor Amazon. - Buy the Brooks range of saddles online in the USA from REI or Amazon.
- Buy the Brooks range of saddles online in Canada from Amazon.
Handlebars & Stems For Touring Bikes

When choosing handlebars and a stem, you’ll be concerned with achieving a comfortable riding position, rather than worrying about what kind of aluminium the handlebars are made from, or how aerodynamic you’re going to be on the downhills.
Getting the combination right is part art, part science. The best recipe combines intuition on the part of the person building the bike, self-knowledge on the part of the person riding the bike (who may the same person), and a lot of trial and error.
This is why spending time trying out lots of options at a local bike shop comes so highly recommended, and why many bike shops offer like-for-like replacements of new cockpit components at no extra charge.
Newcomers to cycling often gravitate towards the kind of flat bars or riser bars they may have experienced as children, which offer a more upright riding position; less efficient but more comfortable. Almost all touring bikes (aka: trekking bikes) of continental European origin are set up in this way. Flat and riser bars put the hands and arms in a more natural position for most riders, and longer bars offer more leverage over heavy front panniers or handlebar bags.
Drop bars are a common feature of road-oriented British and American touring bikes. Unless you are coming from a road-riding background and/or are used to the feel of drops, they are unlikely to be most comfortable choice for long-term world touring. Even if you’re a roadie, it may be worth at least trying out a more relaxed flat/riser bar option.
Some people like butterfly bars (aka in Europe: trekking bars) for the variety of hand positions on offer, though others dislike their lack of rigidity and find bar-ends offer the same benefits. I personally like them, and I consider the flexion a benefit as it helps absorb bumps in the road. They can make things somewhat cramped when adding extra mounts and accessories, however.
Achieving a comfortable, relatively upright riding position that’ll make long days of leisurely riding more pleasant is often helped by adding appropriately angled stem and steerer tube spacers.


After several hours of trial and error, the prototype ultimate expedition touring bike was fitted with a 610mm flat bar and an 85mm stem with a 15-degree rise.
After a few weeks of riding, I changed the flat bars for risers.
And after a few more years of riding, I changed the riser bars for butterfly bars.
(Did I mention a substantial test riding period is recommended when getting a bike tweaked to perfection for expedition touring?)

It’s statistically unlikely that replicating my current setup would work for you. But I can guarantee that time spent trying a range of options, rather than relying on guesswork, will deliver you the best possible results. Bad fit isn’t something you want to discover when you’re already on the road.
Now, when Richard consults with a new customer, he has them try out many different options. There’s more variation in this part of the custom build than in any other department – a new bespoke Expedition might go out the door with flats, risers, drops, butterfly bars, Jones bars, or something else altogether.
Grips, Bar Tape & Bar-Ends For Touring Bikes
What matters most when choosing grips (or bar tape for drop bars) for expedition touring is – yet again – durability and comfort, but also consider ease of installation and removal. Gear shifters and brake levers sometimes need to be removed during maintenance and repairs, and lock-on grips really help in this situation.
You should expect grips to wear out over time. Cheap grips and those made of softer rubber might feel more comfortable to start with but usually wear out faster. Prolong the life of your grips by wearing riding mitts or gloves.
On drop bars, good cork or leather grip tape should last for many thousands of miles. Watch a decent tutorial video before wrapping your bars; it’ll save time, money and frustration.
As mentioned above, many people add bar-ends to flat or riser bars, allowing for a variety of hand positions during long days of riding, for efficiency on long climbs, and to make your bike look super retro.

I originally fitted Ergon’s GP1 BioKork grips to my prototype ultimate expedition touring bike. These get a lot of positive reviews from tourers and other cyclists alike as a high quality, long-lasting, ergonomic, lock-on grip made from natural materials.
On the prototype, Richard added a pair of unbranded low-profile rubberised anatomical bar ends, which plugged into the ends of the handlebars. The current baseline specification of the Expedition includes the Ergon GP5 combination grips and bar-ends, which have proven the most popular choice among Richard’s customers so far.
It’s worth mentioning that all of the Ergon grips mentioned above are available in shorter variants for compatibility with grip-shifters, including the Rohloff internally-geared hub. Handy!
In the meantime, as mentioned above, I’ve recently switched to butterfly bars. They aren’t quite long enough to take the standard-sized Ergon grips alongside brake levers and shifters, so I’ve wrapped them temporarily with cheap Deda cork bar tape until I get round to upgrading to nice plump Tasis Tape (exclusive discount code below) which I have on my road tourer and absolutely love.
Further Links
- Watch Park Tool’s video on how to wrap handlebar tape correctly
- Buy the Ergon GP1 BioKork grips online:
- Buy the Ergon GP5 Comfort combination grips and bar-ends online:
- Buy Tasis Tape bar tape online from TasisBikes.com, with a reader-exclusive 10% discount when you use the code Tom10 at checkout.
Pedals For Touring Bikes
Pedal choice is firstly about footwear – mainly, whether or not you intend to wear SPD shoes while riding.
If you do, then you’ll probably be bringing SPD (aka: clipless) pedals over from another bike.
If you’d prefer to wear ‘normal’ footwear (or you have no idea what SPD or clipless mean), you’ll be looking for a good pair of flat pedals.
Regardless of interface, durability is key when choosing pedals for long-distance cycle touring. Cheap pedals are found even on high-end bikes, because you can’t sell a bike without them, but these stock pedals will likely fail quickly on an expedition of months or years in length. Pedals rotate on their axles thanks to lots of tiny ball bearings, and cheap, badly-sealed (or unsealed) bearings won’t take kindly to the volume of daily pedalling to which they’ll be subjected.
You could bring a service kit and several sets of new bearings, but buying good quality flat pedals in the first place is a better choice for minimising maintenance. Even so, expect pedals to need servicing on your way round the world. Thankfully, 15mm is the worldwide standard thread for pedals, so finding compatible tools and parts is unlikely to be an issue. (Just make sure you install them with a dab of grease so they don’t fuse to your cranks!)
There are few SPD/clipless pedals that can boast the proven longevity of the Shimano Deore PD-M324, which features an SPD clip on one side and a flat platform on the other, making for a very versatile expedition pedal if you do intend to wear SPD shoes. I used a pair of these for many years in conjunction with Shimano MTB boots, and they were my pedal of choice for the original prototype expedition bike.


More recently, having moved away from SPD shoes towards light trail shoes (and occasionally flip-flops), I revisited Richard at Oxford Bike Works for a few tweaks and upgrades (more info in this blog post), asking for a versatile and long-lasting pair of flat pedals. I came away with a pair of Shimano PD-EF202s. These are relatively high-grade flat pedals with a broad platform and a moderate grip profile. They run on 3/32″ loose ball bearings, making them serviceable in the field, and have 6mm hex key (Allen key) fittings at the inboard end of the axles, eliminating the need to carry a standard 15mm pedal spanner.

DMR’s much-imitated V8 pedals – originally a favourite among BMX riders wearing big flat skate shoes – are another classic choice for expedition touring if you want lots of aggressive, adjustable grip for technical riding and plenty of surface area for use with chunky hiking shoes. The V12 model has sealed cartridge bearings and, while more expensive, will likely prove more durable in the really long haul (though you’d be wise to pack a service kit).
It’s worth mentioning that some riders feel the grip pins of the DMRs are too aggressive for on-road touring with casual footwear. That’s the main reason why I went for the Shimano PD-EF202s above on the latest update to this bike.
Retailer Links
- Buy the Shimano PD-M324 combination pedals online:
- Buy the Shimano PD-EF202 flat pedals online:
- Buy the DMR V8 loose bearing flat pedals online:
- Buy the DMR V12 sealed bearing flat pedals online:
Something to add?