Drivetrain Components For Expedition Touring Bikes

The term drivetrain refers to the sprockets, chains and other mechanisms that transfer rotational kinetic energy from your legs to the rear wheel.
But before we go any further, let’s remind ourselves of some of the core principles of expedition touring bike design: strength, durability, serviceability and simplicity.
Why? Because remembering these principles will help us navigate the minefield of drivetrain technologies the cycling industry has created for us.
A Brief Rant On Planned Obsolescence And, Particularly, The Way Shimano Do It
So. Rather than make just one derailleur, one crankset, one bottom bracket, etc, you will notice that Shimano and others make seemingly thousands of different versions of each part. Their marketing teams would have you believe that the newer, shinier and more expensive something is, the better it must be. This strategy makes these companies a lot of money, and it could easily waste you a lot of money too.
There are indeed some functional and aesthetic differences between ranges. But the truth is – in the context of cycle touring – they are utterly marginal. These margins are interesting to bike nerds and competitive cyclists but should be of no interest to an expedition bike builder.
For example, lots of clever manufacturing tricks are used save weight in order to convince buyers that a given product will help them win races or improve their Strava rankings. But when you calculate the total cost for an entire bike, you realise it would cost you thousands of pounds/Euros/dollars to save fewer grams than the weight of your do-everything cycle touring toolkit on components that do exactly the same thing.
Strength, durability, serviceability and simplicity – these are qualities that Shimano’s entry-level Alivio and Acera parts deliver better than high-end XTR parts costing ten times the price, because they haven’t been compromised in order to shave off a few more slivers of metal.
When you’re on a cycle tour or bikepacking trip, you care about one thing along: whether or not the drivetrain works. That’s usually more about how well your bike has been maintained than how much the derailleur cost.
Shimano still have the longest reputation for making drivetrain products that are reliably fit for purpose at every price-point. That’s why the cheapest bikes on sale at big-box stores will almost definitely be fitted with OEM Shimano components straight out of the factory. The products on offer in the lucrative high-end consumer market are made in the same factory using the same technologies.
If properly installed and maintained, a Shimano drivetrain from pretty much anywhere on the spectrum will work well for years or decades to come, with occasional replacement of basic wearing parts such as shifter cables, chains, chainrings, sprocket cassettes and jocky wheels. You’ll find old touring bikes still running on Shimano drivetrains from back when there really was only one derailleur to choose from.
Today, my money’s on the lower-mid-range of Shimano’s mountain bike drivetrain components – anything from Acera to Deore LX, depending on your chosen number of gear ratios. This is where you’ll find the sweet spot between availability, value, functionality and cross-compatibility, particularly when it comes to finding replacement parts far from home.
Rant over! Sorry about that. Let’s now have a look at what drivetrain components I actually chose for my prototype ultimate expedition bike, and how we arrived at those decisions.
Choosing Gear Ratios For Touring Bikes
A bicycle for expedition touring needs a wide range of gear ratios. This doesn’t mean ‘lots of gears’ – it means, very specifically, a wide range of them.
Why? Think about day-to-day riding scenarios. You’ll use three or four gear combinations for 99% of your riding: a couple of everyday cruising gears for varying conditions, one ‘tailwind’ gear, and one very low gear for climbing hills. And that one low gear needs to be really low.
Mountain biking tends to require a broader range of gearing than road riding, due to the heavier bikes and more challenging terrain involved. For that reason, expedition bikes almost always use mountain bike drivetrain components.
Look for triple chainsets with 22 or 24 teeth on the smallest sprocket, and cassettes with 32 or more teeth on the largest sprocket. A 26–36-48t chainset and an 11–32t cassette might be a typical combination; a 22–32-44t chainset and a 11–34t cassette, however, would give you more torque on the steeper climbs.
Compatibility in this field means Shimano, or at least Shimano-compatible, because their components still dominate from a worldwide perspective.
Choosing Derailleurs For Touring Bikes
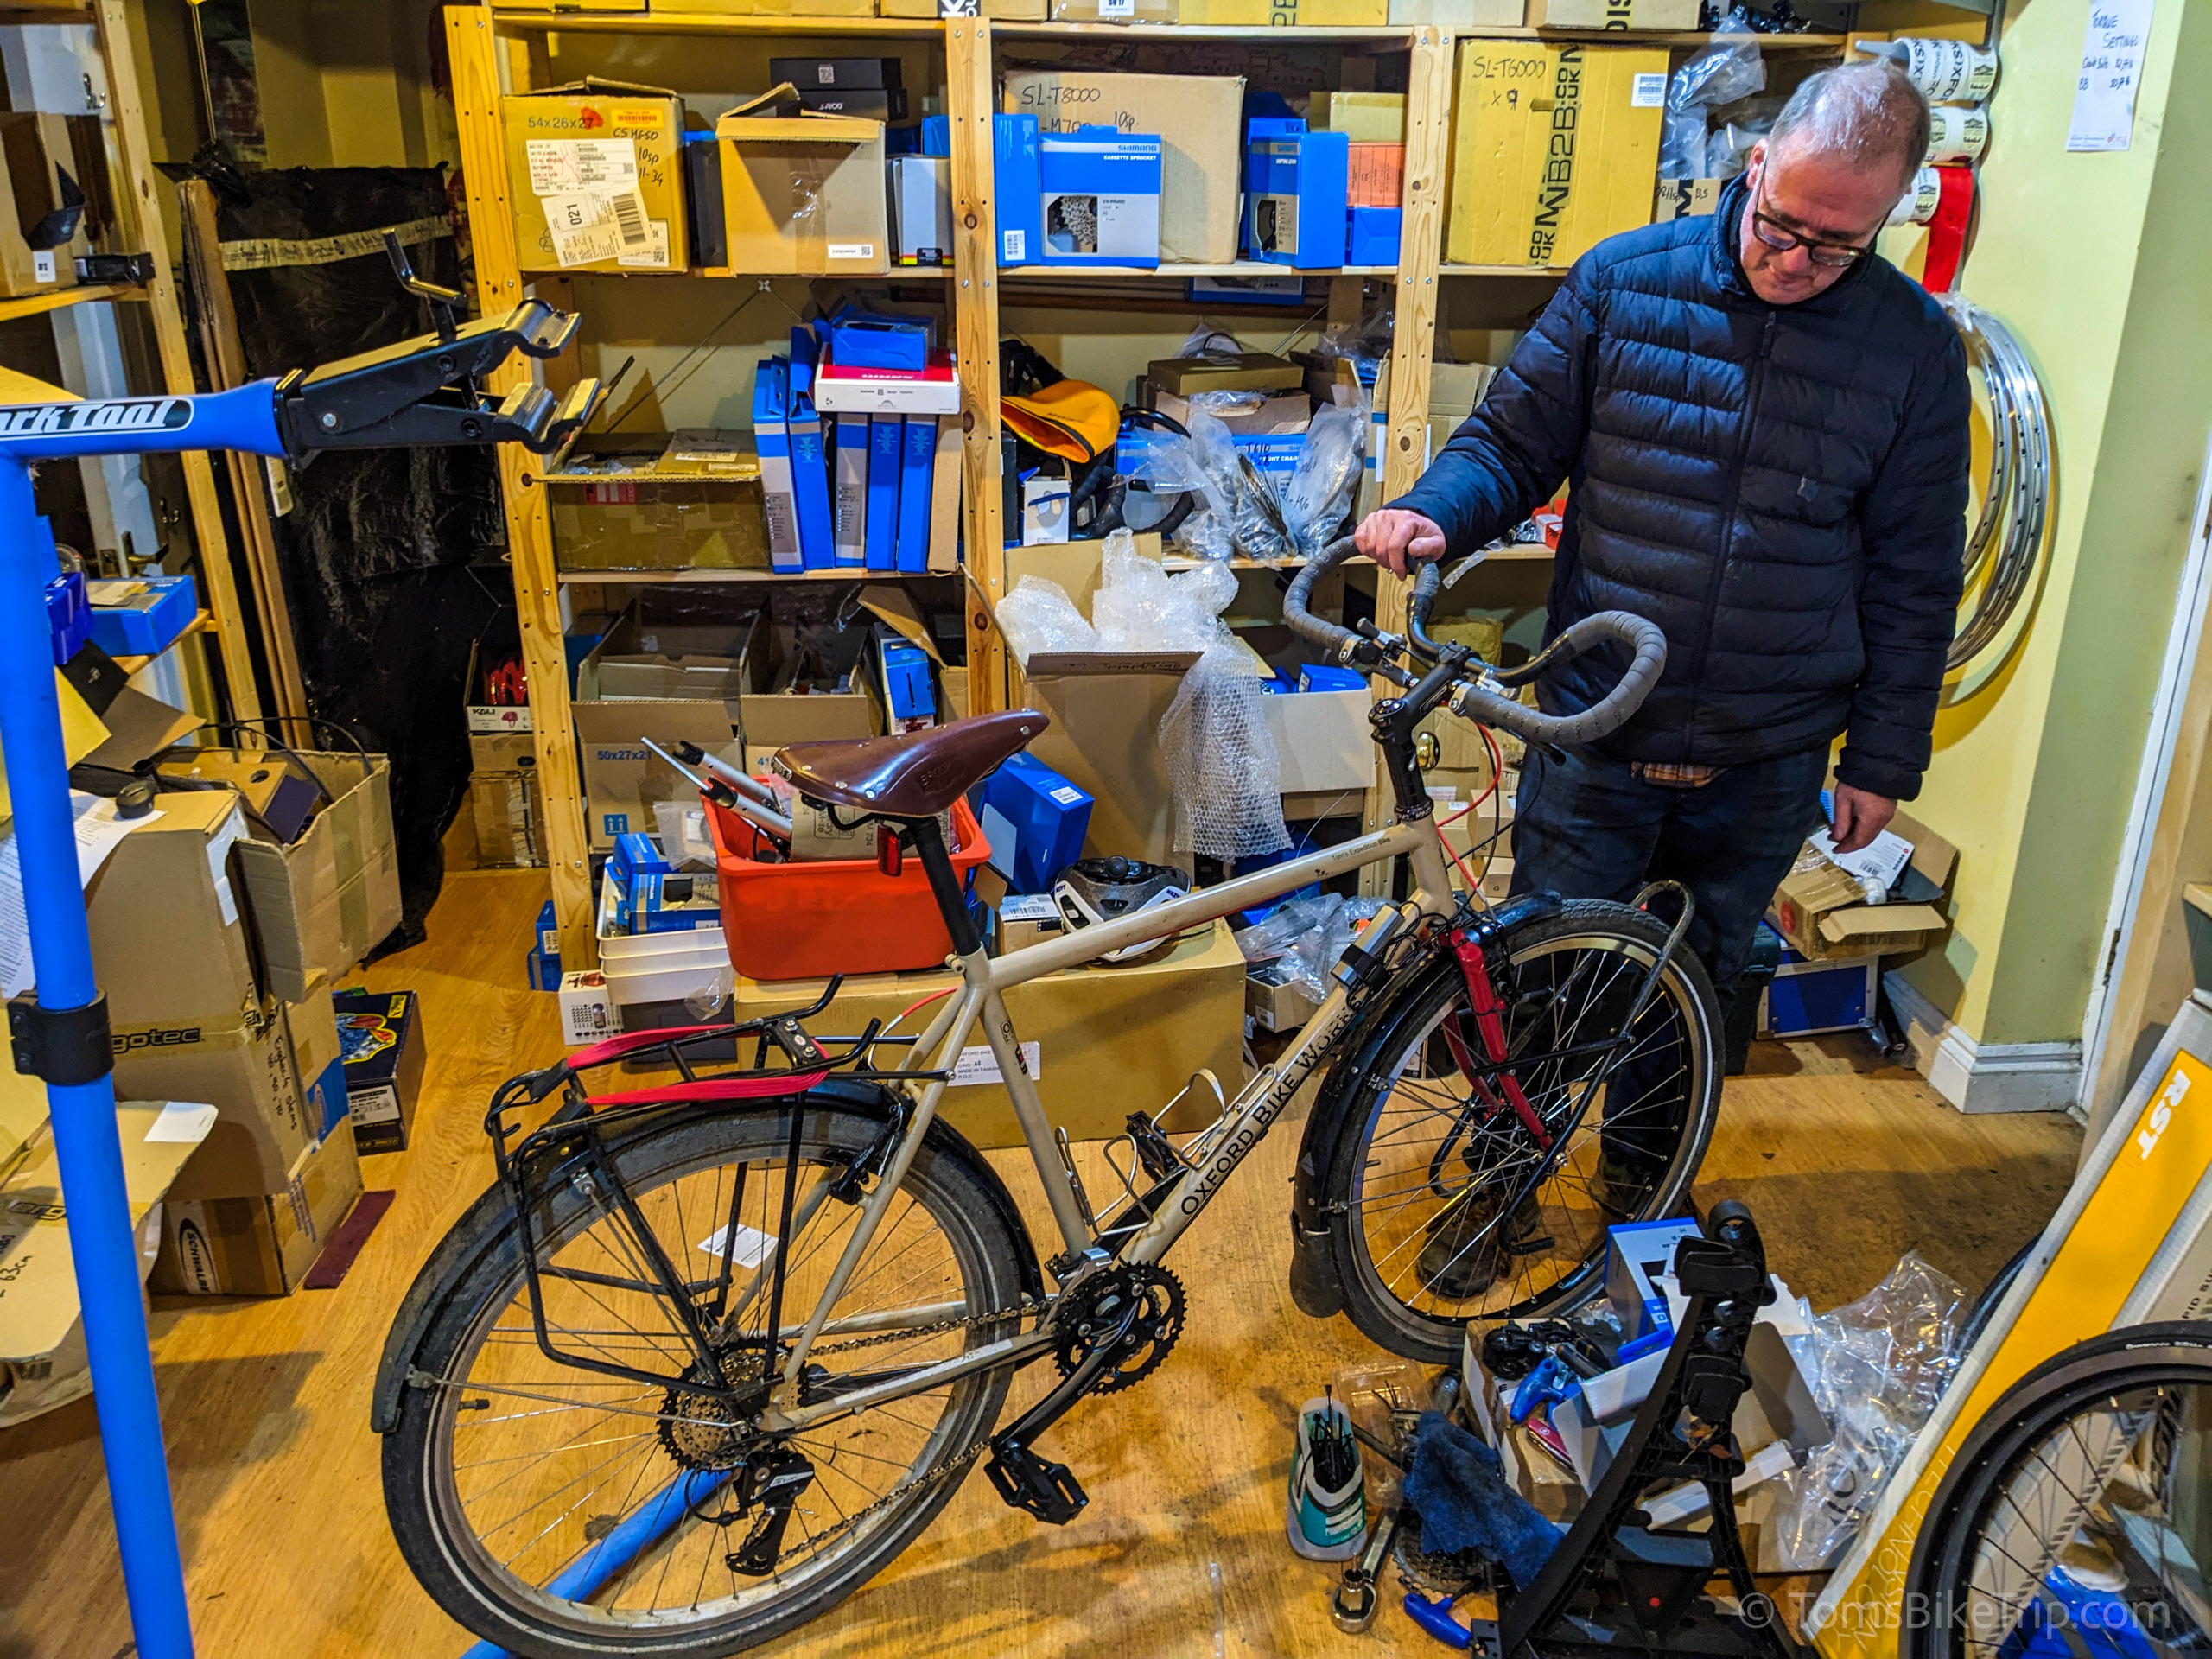
My prototype ultimate expedition bike was fitted with a Shimano Deore FD-M590 front derailleur and a matching long-cage RD-M591 rear derailleur.
Alivio derailleurs would have been fine, except that the rear derailleur model available at the time didn’t have a barrel adjuster for precise adjustment of the gear indexing. Because the shifters I was fitting (see below) didn’t have barrel adjusters, we chose to upgrade to the Deore. On long tours, gear indexing is a relatively common adjustment, especially in the days after new gear cables are fitted, and I wanted this procedure to be as simple as possible.
Today’s Shimano Alivio RD-T4000 rear derailleur does indeed have a barrel adjuster. I’d probably choose it over the Deore to save a little extra cash towards my trip.


When ordering a front derailleur, make sure it has the correct clamp size for your frame. The terms ‘top pull’ and ‘bottom pull’ refer to the direction from which the gear cable approaches the mechanism, so again, check your frame’s cable routing layout to determine which type you need (‘dual pull’ derailleurs are compatible with both).
With rear derailleurs, check whether you’re ordering a ‘normal’ or ‘rapid rise’ model, which basically refers to whether the derailleur shifts up or down the gears when the cable is pulled. Normal-type derailleurs are the appropriate choice in most scenarios.
You’ll notice that Shimano derailleurs are often described with the number of speeds, eg: 9‑speed or 10-speed. This is slightly misleading, as it’s the shifter indexing that dictates the number of speeds, whereas the derailleur’s range of motion is the same across ranges, meaning they’re usually cross-compatible.
Cage length also varies with rear derailleurs, with most lines coming in two or three types (short/medium/long). Long cages are slightly more vulnerable to being damaged by trail features while riding off-road, but they’re often necessary to maintain chain tension across a wide-range cassette (see above)? Check the stated tooth capacity of a derailleur and make sure it’s equal to or greater than the number of teeth on the largest sprocket in the cassette. If it’s lower, you’ll need to upsize.
Further Reading & Retailer Links
- See the range of Shimano front derailleurs available to buy online:
- See the range of Shimano rear derailleurs available to buy online:
Choosing Sprocket Cassettes & Chainsets For Touring Bikes
Choose a sprocket cassette with a large lower sprocket – 32 teeth at the minimum, 34 or 36 if possible – in the knowledge that as soon as you take a fully-loaded expedition touring bike up any kind of gradient, you can never have a low enough bottom gear. Make sure your rear derailleur matches (see above).
Choose a chainset (the crank arms and the chainrings that attach to them) firstly to match the bottom bracket interface (see below). Look for individually replaceable chainrings, using standard Allen-key chainring bolts. Choosing such a chainset, rather than a permanently riveted model, means that individual chainrings can be easily replaced in the case of damage or uneven wear.
Chainsets usually come in a variety of crank lengths from 165–175mm; which to choose is a function of your leg length and thus how long you want the pedal stroke to be. Finally, while the current trend in the mountain-bike component consumer market is for single or double chainrings, the smart money for expedition touring is still on entry-level triple chainsets (Alivio, Acera, etc) with three chainrings, designed for 8‑speed and 9‑speed drivetrains. These will maximise your gear range, wear slower over time, and save you money in the first place.
(It doesn’t matter if you use a chainset described as 9‑speed with an 8‑speed chain and cassette system – they’re cross-compatible.)


I chose a Shimano Acera HG41 11–34-tooth 8‑speed Megarange cassette, a Shimano Acera FC-M361 triple chainset with 170mm crank arms and 22/32/44-tooth chainrings, and a Connex-Wipperman 808 8‑speed chain.
You might notice in the photos that I also upgraded the middle chainring to a Middleburn Hardcoat model, whose longevity was well known in touring lore. Sadly they’re no longer in production.
At this point, you might also be wondering why I didn’t go with an internally geared hub such as the Rohloff.
In my view, the choice between internal geared hubs and traditional derailleurs mainly depends on two things: how much you value serviceability, and how much money you want to spend upfront. I’ve written extensively on the Rohloff vs derailleur debate in my Touring Bike FAQ series of posts.
Further Reading & Retailer Links
- See the range of Shimano chainsets aka: cranksets available online (click & scroll down for cheaper 8- and 9‑speed models):
- See the range of Shimano sprocket cassettes available online (click & scroll down for cheaper 8- and 9‑speed models):
- See the range of bike chains from various brands available online (click & scroll down for cheaper 8- and 9‑speed chains):
Choosing Gear Shifters For Touring Bikes
There is one requirement of a shifter: to pull or slacken a gear cable, usually in order to move a derailleur and thus shift the chain from one sprocket to another. Given that, it is amazing how many complicated ways the bicycle industry has come up with to do this.
For a round-the-world ride, we are interested in something that works reliably over a long period of time. As well as high build quality in the first place, it also means choosing a shifter mechanism with as few moving parts as possible.
This eliminates STI or “integrated” shifters, in which brake lever and gear shifter and their mechanisms are combined into a single unit, as a sensible choice. By keeping shifting and braking mechanically separate – as they have been for most of the bicycle’s history – we minimise complexity, isolate possible points of failure, lessen the consequences if something does go wrong.
This all points to a gear-shifting mechanism that didn’t change for decades and didn’t need to: friction-based thumbshifters.
On road bikes of yore, you would usually find these bolted to the down-tube, having the rider reach down to change gear. When mountain bikes came to prominence, they moved to the handlebars, where they were operated by the thumbs – much more convenient, and resulting in the name thumbshifter.
Sadly, it is now nearly impossible to find a set of brand new, good quality, friction-based thumbshifters, but what you can still find are old-fashioned downtube and bar-end friction shifters.
And it turns out that these can be repurposed as thumbshifters by attaching them to the handlebars using mounting clamps borrowed from elsewhere.


In this way, I fitted a pair of (now discontinued) Shimano Ultegra SL-6480 8‑speed bar-end shifters, with the front running on friction and the rear switchable between friction and 8‑speed indexing with a quarter-turn of a thumb screw.
To adapt them for flat handlebars, we borrowed mounting clamps from a pair of SunRace M96 thumbshifters – a well-established trick, as we discovered when researching the topic. Paul’s Components also make “thumbies” for achieving the same result with shifters from Shimano, SRAM and Microshift, and come with built-in barrel adjusters (and at considerable extra cost).
In friction mode, these shifter allow me to ‘trim’ my gears on the fly, finely adjusting the front derailleur with a precision beyond that offered by indexed systems. (Trimming gears quickly becomes second nature on the road.)
If something did go wrong with the drivetrain, friction shifters eliminate many of the compatibility issues that come up when combining spare parts from different ages and manufacturers. I’d even be able to fit a 9- or 10-speed cassette and chain if I had no other choice, or switch from a triple to a double crankset – all without changing the shifters. No indexed system can offer this kind of redundancy.
If you’re considering drop handlebars, there’s no need to hack the mounting system at all – just install them in the bar-ends as designed. Many popular drop-bar touring bikes have or had this setup, including my 2012 Kona Sutra.
Since the Shimano SL-6480 shifters were discontinued, the Oxford Bike Works Expedition has been fitted with microSHIFT SL-T08 thumbshifters as standard. These offer front friction shifting and switchable rear friction/index shifting, have built-in barrel adjusters, and – critically – have now proven themselves reliable over many years on the road. (Bar-end versions are available if you’re building a bike with dropped handlebars.)
Retailer Links
- Order the microSHIFT SL-T08 thumbshifters from Amazon (USA) or Bikemonger (UK)
- See the full range of microSHIFT thumbshifters and bar-end shifters.
Choosing Bottom Brackets For Touring Bikes
Bottom bracket is a catch-all term for the various bearings, seals, spacers and support cups supporting a rotating spindle to which the crank arms are attached.
This component is installed – usually by threading, occasionally by pressing – into the bottom bracket shell, which is an integral part of the frame. The name comes from the way frames were traditionally built. It stuck, and “bottom bracket” is now the generic term for all varieties of this assembly.
Though their function is superficially very simple, bottom brackets come in an annoyingly wide variety of styles. It is very easy to get overwhelmed with how many different systems there are for what boils down to making sure the pedals turn smoothly! As well as that, many failed bottom bracket technologies have come and gone in a relatively short timeframe, meaning plenty of touring bikes are now out there with obsolete bottom brackets that are ever more difficult to service and replace.
As ever, we are concerned with what will not change with the whims of fashion, which is tried and tested, and which will allow for the readiest worldwide access to spares. This points to the square taper style still used on many entry-level bicycles currently in production.
Cartridge (aka: integrated spindle) units have sealed bearings, meaning they are easier to install and replace and require no adjustment but cannot be disassembled for servicing. Good quality units last a very long time, however, and they rarely fail catastrophically. What will likely happen instead is that the bearings begin to rumble after a few continents. When this happens, simply plan to renew it with a like-for-like replacement the next time you stop for a maintenance session. If you can’t find a replacement cartridge unit, you can fit a basic cup-and-cone bottom bracket from the parts you’re likely to find in the back-street repair shops of the world. Your cranks and the rest of your drivetrain will remain compatible, and the disruption to your ride will be minimised.
Of the modern cartridge models, Shimano’s midrange BB-UN5x line has been going for decades, with the BB-UN55 the most recent incarnation. The cheaper BB-UN300 can be found on plenty of new entry-level mountain bikes and would be compatible in a pinch, though probably not as durable. At the top end are expensive precision-engineered units, such as those from Phil Wood which, over their 50+ years in production, have developed a cult following on a par with the Chris King headset (see above) and will cost as much as an entry-level touring bike.
When buying a bottom bracket, you need to know that different shell sizes and thread types of any given model should be available and must match your frame’s bottom bracket shell. Different spindle lengths are also available to allow correct clearance between the chainrings and the chainstays, as well as to achieve the correct chainline as specified in your crankset and derailleur specifications.
(If you’re confused by all this, the easiest thing to do is look at what’s specified on commercially-available complete bikes based on your frameset, and use the same parts.)
As with headsets, there is a strong argument for going down the fit-and-forget route, spending more cash on a top-quality sealed unit which will never wear out. On the other hand, a threaded bottom bracket installed to the correct torque with a good smear of copper grease is much easier to remove and renew than a press-fitted headset. Yes, it does require a specialist tool – but it’s one every bike shop will have and which any amateur mechanic can use.

We originally fitted the ultimate expedition touring bike with a Shimano BB-UN55 square taper sealed cartridge bottom bracket.
For this particular build, a 68mm shell, 113mm spindle and British/ISO thread was the appropriate choice.
As mentioned earlier, the majority of (affordable, utilitarian) bicycles on the road today still use the square taper system, which is why – despite their strategy of introducing ever more planned obsolecense into the bike industry – Shimano are still making them. The BB-UN5x series had an excellent reputation for longevity and was around in various iterations for decades, but was recently discontinued. Today, the BB-UN101 and BB-UN300 are Shimano’s only offerings in this category, both being part of their entry-level categories of mountain-bike components, and their durability for touring remains unclear.
The current Oxford Bike Works Expedition is fitted with a Token Resolute square taper cartridge unit, which is available in the range of shell sizes, spindle lengths and crank interface standards.
This recommendation may change as other manufacturers seek to fill the niche left by the departure of the much-loved and dependable Shimano BB-UN5X series, but for now it has proven a worthy substitute.
Further Reading & Retailer Links
- Read Park Tool’s detailed, illustrated article about spindle length choice and other chainline concepts.
- Park Tool also have a good guide to bottom bracket identification.
- The Shimano BB-UN55 square taper bottom bracket series has been discontinued but you might still find a few on eBay.
- Buy the Token Resolute square taper bottom bracket online direct from Token or via eBay, or (in the UK) from their distributor i‑Ride.
Something to add?