How To Actually Build Your Own Expedition Touring Bike
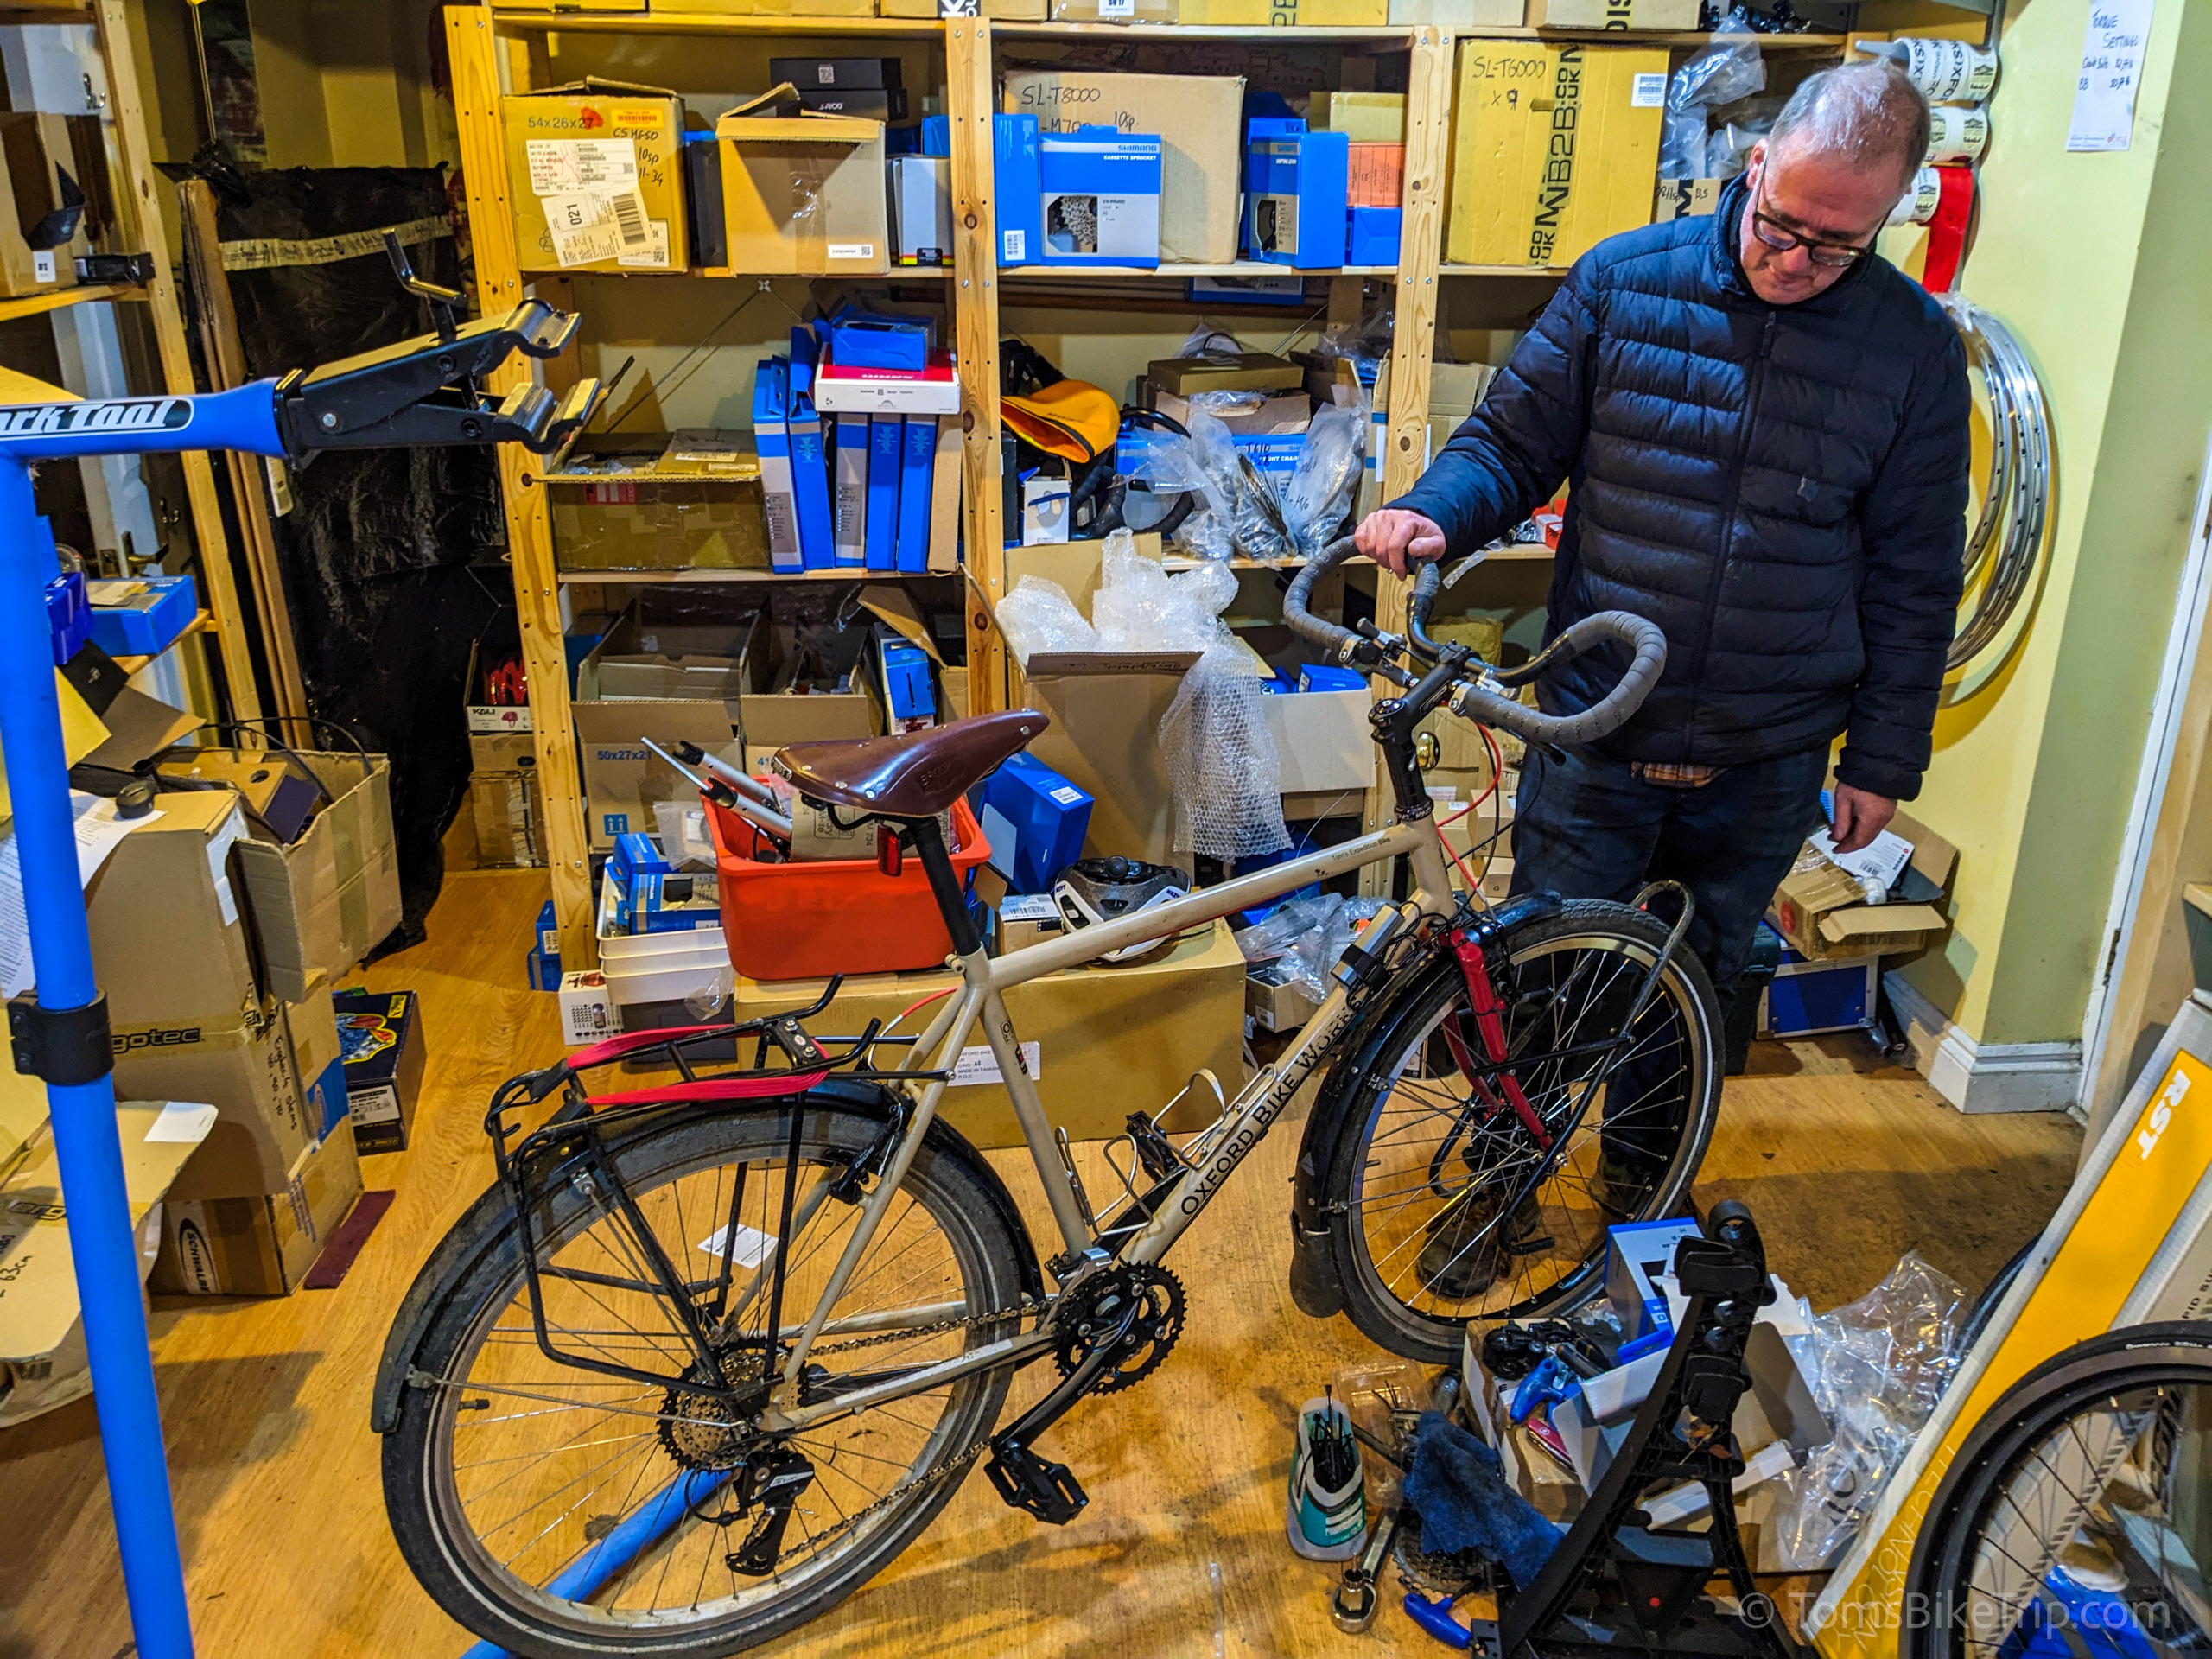
The DIY approach to putting together a touring bike involves a bit of mechanical know-how, some tools, a lot of patience, and a willingness to get your hands dirty.
If you have all of these things, or are happy to acquire them, then building your own bike is an entirely feasible goal if you are mechanically inclined, and a very satisfying thing to do.
I’ve built many bikes over the years for myself and for others. In doing so, you’ll get to know your bike intimately; useful indeed when carrying out routine maintenance or roadside repairs.
For beginner learning resources, I would suggest a combination of local bike shops’ maintenance courses together with Youtube, Park Tool & Sheldon Brown’s websites, plus trial and error – however you learn best. Bicycles are really pretty simple.
If you’re completely tool-less, you’ll need to budget for tools & supplies (both workshop tools and the portable ones you’ll want to take with you). This may negate what you will save by doing it yourself, but a good set of tools should last a lifetime.
Allow several days to accomplish the build, swap parts, and fettle. Multiply the time required extensively if it’s the first time you’ve done this. Even a professional builder would still need at least one full day to assemble an expedition bike, test ride it, tweak it, and get everything just right.
Pro Tips For Budding Expedition Bike Builders
Professional touring bike builders and assemblers also know a few additional tricks of the trade which may be omitted in factory-built bikes.
These little points of detail are not just the icing on the cake; they’re part of what brings and keeps a really top-quality touring bike going stronger and for longer. These touches come from an understanding of common long- term touring ailments.
Here are a few to help you get going:
- Apply a threadlocking solution to the bolts that attach the racks to the frame. This’ll prevent the bolts from coming loose while still allowing deliberate removal if need be. These bolts are some of the most likely to shake themselves loose over time, and you can bet it’ll happen when you’re not paying attention.
- Leave the mounting bolts of the shifters and brake levers a tiny bit looser than normal – just enough to ensure that in case of a crash they’d get knocked out of place rather than breaking off completely. If you can’t twist the mounting by hand (with a good bit of effort), the bolt is too tight.
- Run a full-length rear gear cable from the shifter to the derailleur, protecting its internals from dirt and grime and maximising its life.
- Many otherwise durable components come fitted with cheap, corrosion-prone bolts, so replace all such cheap and nasty fittings with rust-resistant marine-grade stainless steel bolts.
- Get at least 3 spare spokes for the drive side of your rear wheel and Gaffa Tape them to a seatstay.
These are delicate touches. A professional builder will include many more as part of the individual service you can expect – one of the many reasons you might choose to have a bike like this custom-built for you if you like the idea of a personalised specification but lack the experience to put it together yourself.
Something to add?